How to photograph the Northern Lights?
Most people who see the Northern Lights prefer to take their own images of them. After all, nothing beats having your own pictures to share with your friends and loved ones.
Fortunately, it's very easy nowadays. Even smartphone cameras have become sufficiently good to take great photos of the aurora.
However, the best option by far is a good quality DSLR or mirrorless cameras, a Nikon, Canon, Sony etc.
If you are seeing auroras for the first time, look up and enjoy the show! Don’t waste those precious few moments fiddling with your camera. Sometimes the most impressive and colourful displays only last a few minutes.
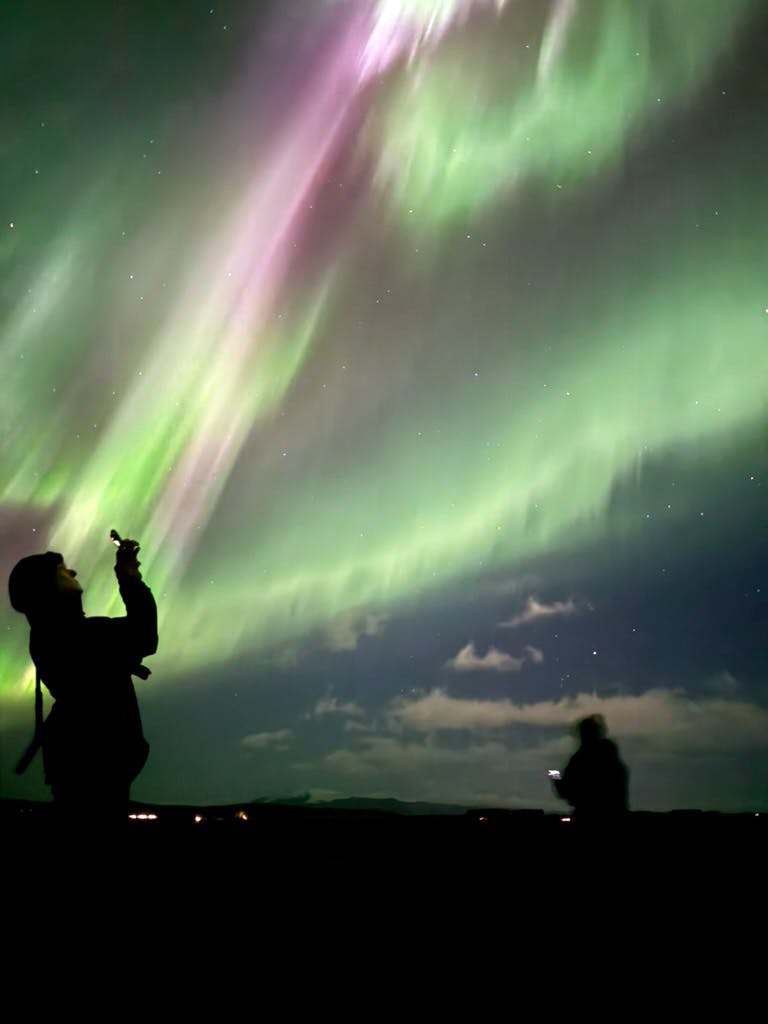
How to shoot the Northern Lights using a smartphone?
Shooting the Northern Lights with a smartphone is very easy. Just point and shoot, literally!
For iPhone users:
- Open Camera app.
- In low-light situations, Night mode turns on automatically.
- Tap the Shutter button and then hold your iPhone still for 3 seconds to take your shot.
- Align the crosshairs to help reduce motion and improve the shot.
- A beautiful image of the northern lights appears!
- Zoom in to check how sharp the image is. Redo if it isn't sharp and try to hold the camera as still as possible, using the crosshairs.
For Android users:
- Open Camera app.
- In the Photo mode carousel, tap Night Sight.
- Tap Capture.
- Hold still for a few seconds while your device captures the photo.
- Check image and redo if it isn't sharp.
More info
- iPhone iOS
- Samsung Android
- Google Pixel Android
Recommended accessories for smartphone aurora photography
- Tripod - to shoot for up to 30 seconds to reveal faint aurora and the Milky Way.
- Cell phone tripod adapter
How to shoot the Northern Lights using a DSLR or mirrorless cameras?
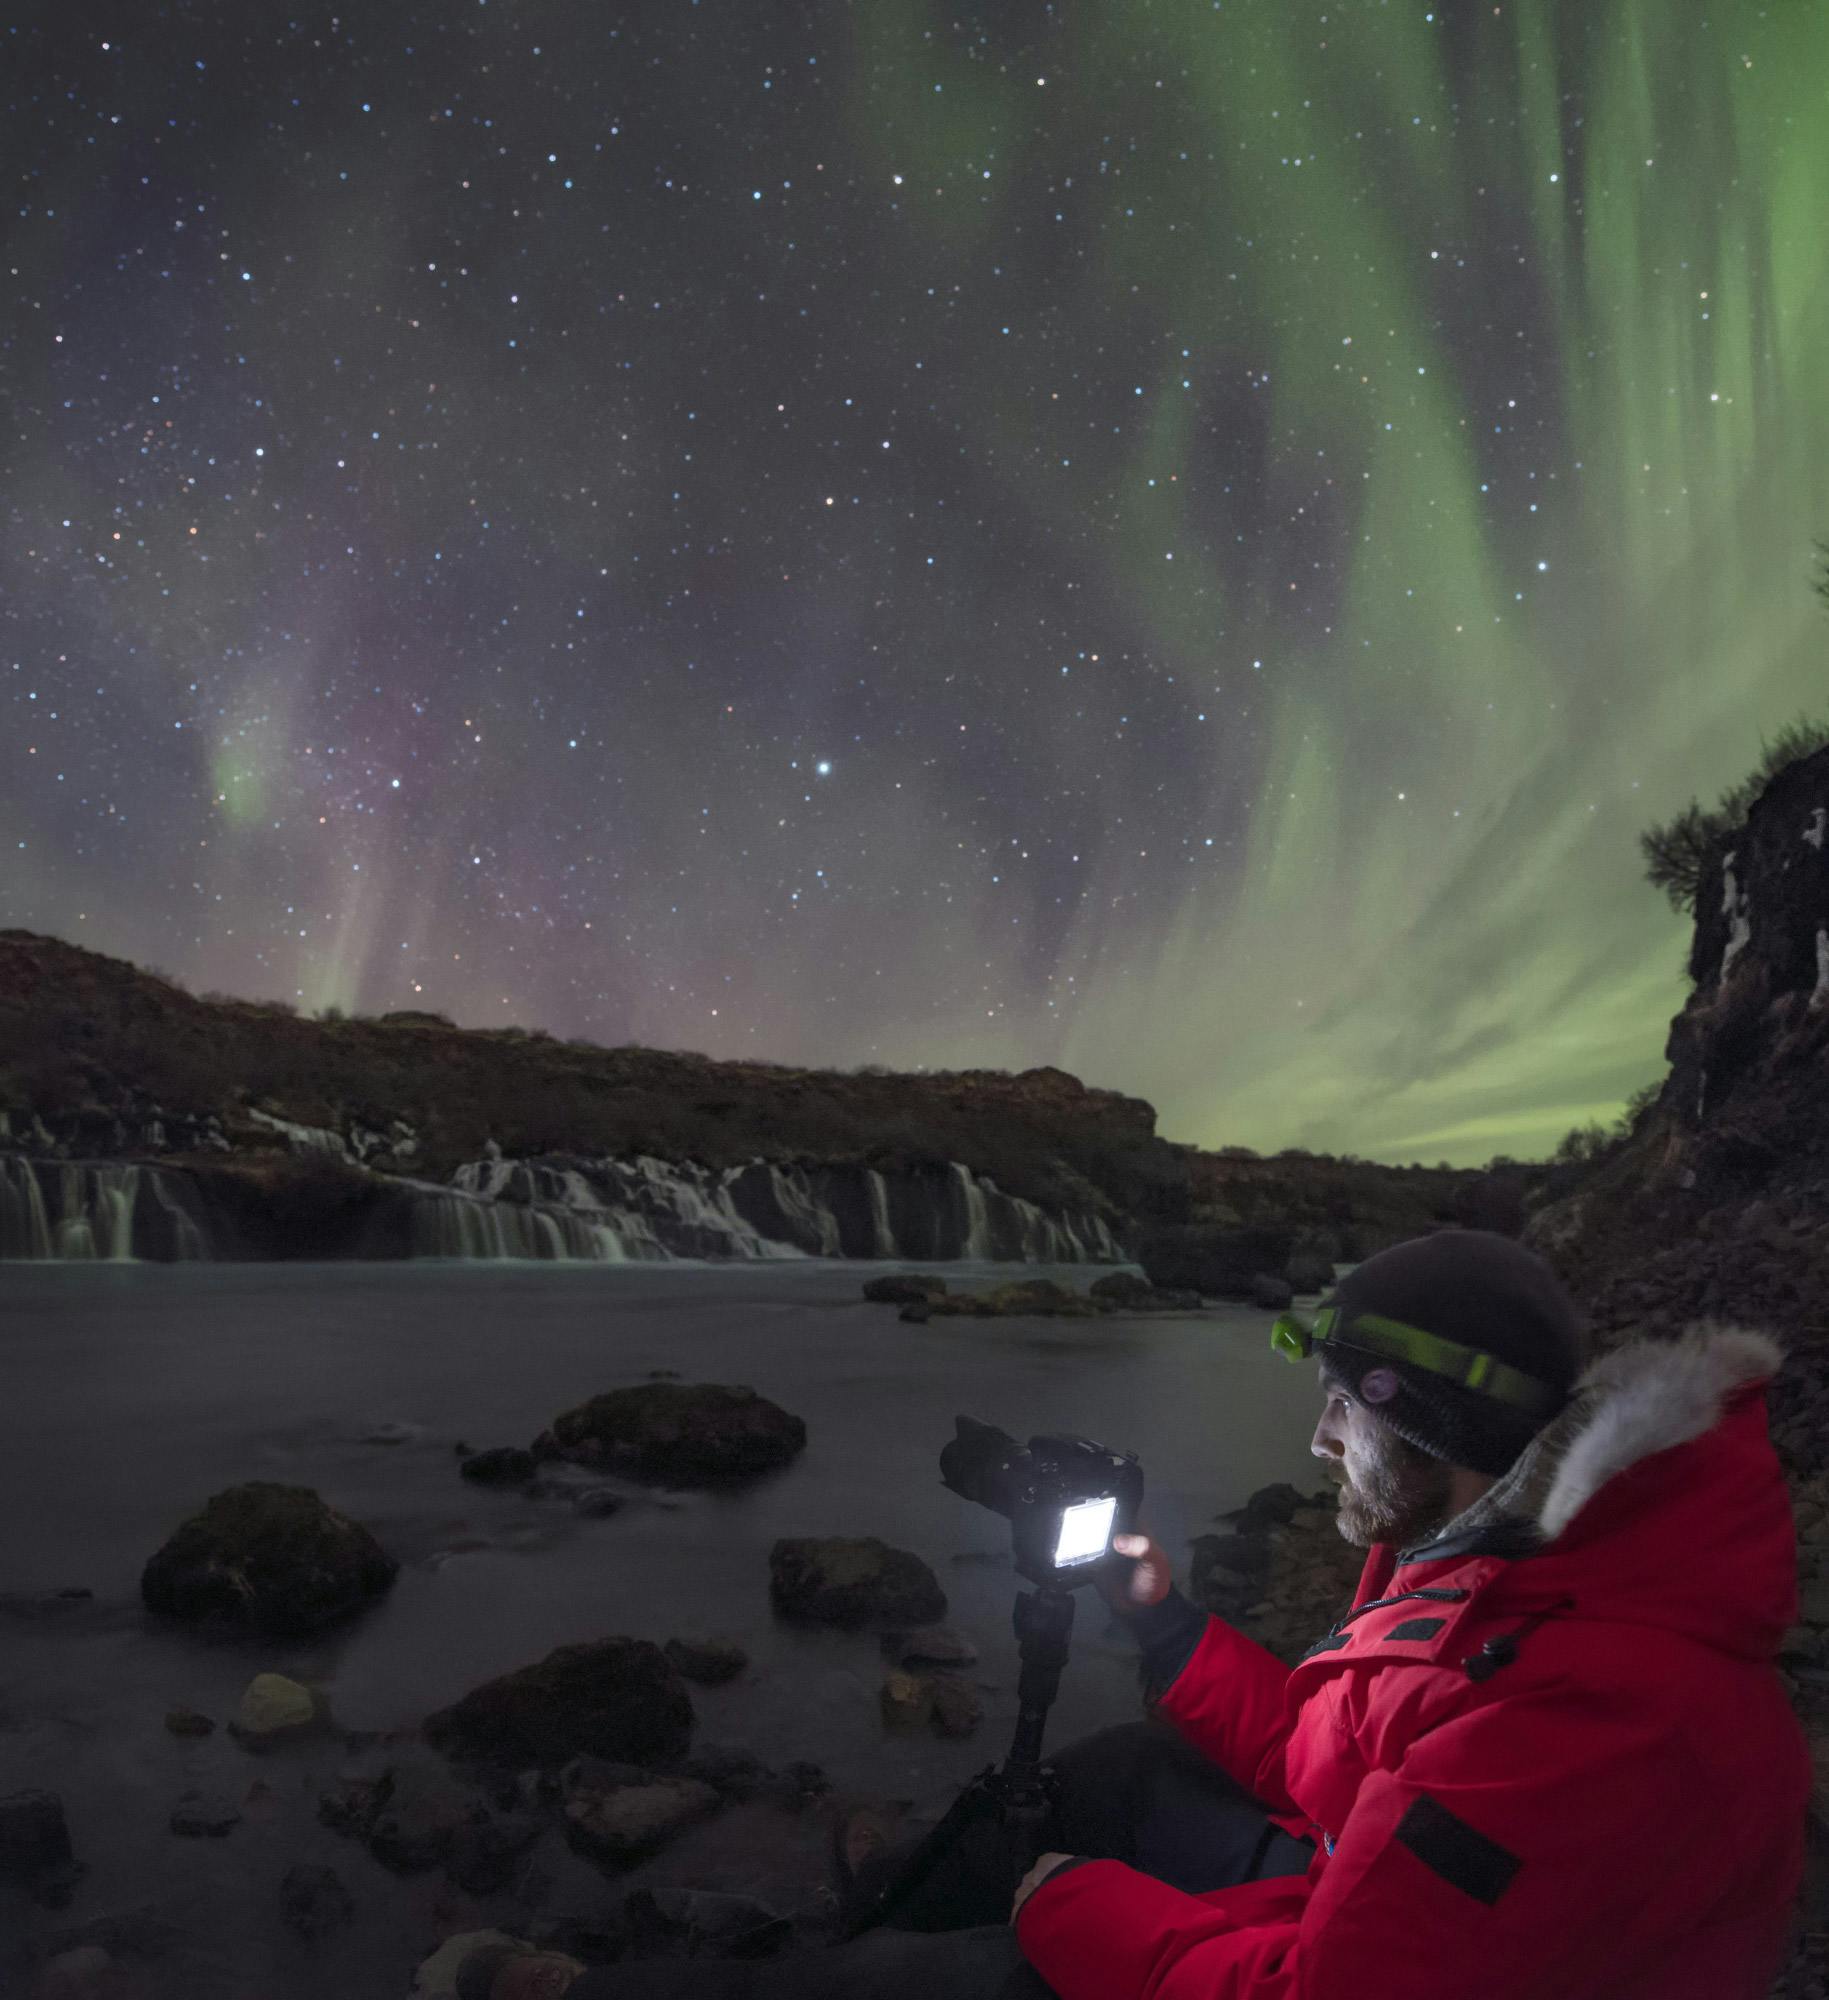
The best camera settings depend on how intense the aurora display is and the quality of your gear.
Fast, wide-field, short focal length lenses – for example 12, 14, 24 and 35mm, from f/1.2 - f/2,8 – are most suitable for aurora photography. Longer focal length means you'll see narrower expanse of the sky.
If you follow these simple steps, you should be able to capture beautiful images. Just remember, practice really does make perfect!
Checklist for aurora photography
- Make sure your batteries are charged and the memory card has enough free space.
- Put the camera settings on manual.
- Shoot raw to process images using photo editing software.
- Set your shortest focal length lens to the widest possible aperture (f/1.4, f/2.8, f/3.5 etc.).
- Set the ISO between 800 and 3200, depending on how bright the display is.
- Switch off auto focus and, importantly, turn the flash off.
- Set shutter speed between 1 to 25 seconds, again depending on how bright the display is.
- Place your camera on a tripod (or something steady).
- Focus manually by pointing it at the Moon or a bright star (using the camera’s Live View if this feature is available). The focus should be close to the infinity mark.
- Find a beautiful foreground and shoot!
Things to keep in mind
- A good, sturdy tripod is a must!
- Bright displays are best captured with short exposures, say less than 10 seconds at ISO of 800-1600.
- Shorter exposures allow you to freeze any motion.
- Fainter displays may require longer exposures and higher ISO (3200-6400).
- If you plan on catching the Milky Way too, use high ISO and exposures of up to 30 seconds.
References
- Iceland at Night: Your Guide to Northern Lights and Stargazing in Iceland, Sævar Helgi Bragason & Babak Tafreshi
- Magnificent aurora: Your complete guide to nature's greatest light show, Bob King

